
Add and find materials
Use Materials to find and organize files for your work. The files you can see depend on the workspace and your access.
Add a file
Section titled “Add a file”- Select Materials in your workspace.
- Open the collection where you want to keep the file, or stay at the top level.
- Select Upload and choose your file.
- Keep the page open while the upload runs. Check the file’s status when it finishes.

The upload control shows which files it accepts. If a file is rejected, use the message shown to check its type or size.
Check readiness
Section titled “Check readiness”A file can finish uploading while its content is still being prepared. Its status shows Content processing until it reads Content ready. Wait for that before relying on it as an activity source. If the status shows that content is unavailable, follow the message shown for that file.
Use clear names
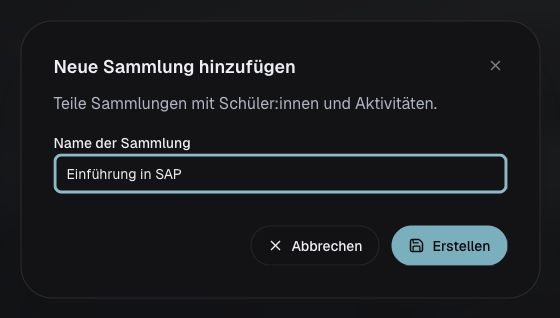
Section titled “Use clear names”Choose file and collection names that tell you what is inside, such as “River fieldwork — source texts.” Select New collection, enter a name, then select Create to group related materials.
Before using a file in an activity, open it and check that it is the right version.
Adding a file to Materials does not by itself assign a learning activity to a group.